How to Start or Stop the Timer in MatterSuite?
Go to the MatterSuite dashboard.
-
Click the Timer icon to start tracking time.
-
Stop the timer when done; a pop-up will appear.
-
Enter the description, matter name, and duration.
-
Click Save to record the timer entry. Refer to this below. 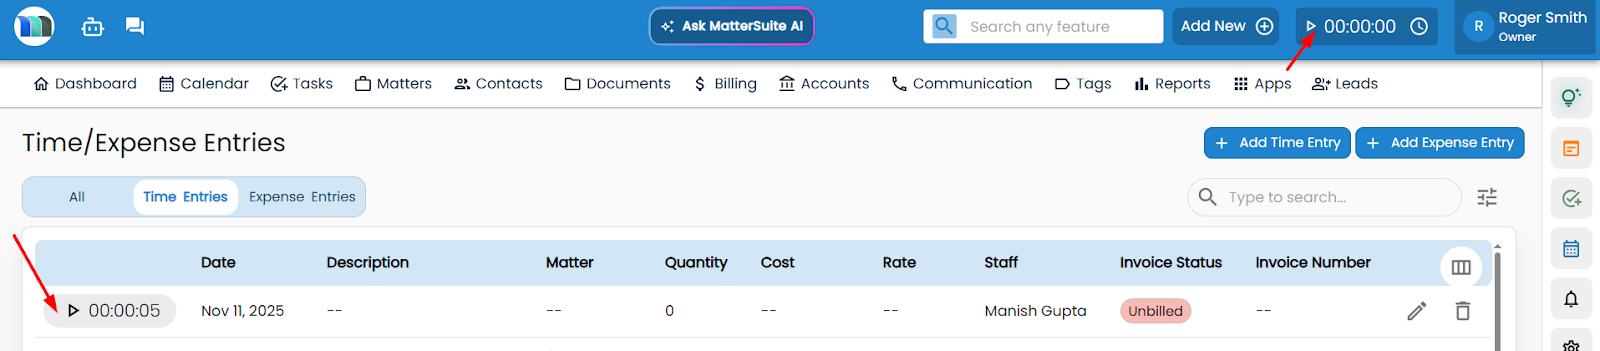

Related Articles
How to add a new time entry?
1. Log in to your MatterSuite account. 2. Go to the Billing module. 3. Click Time Entries. 4. Select Add New Entry. 5. When the pop-up appears, enter all required details such as date, duration, description, and matter (if needed). 6. Click Save to ...
Overview of the Time Tracking Feature in MatterSuite
The Time Tracking feature in MatterSuite helps legal professionals accurately record the time spent on different tasks, matters, & client activities. It ensures that every billable minute is captured, making the billing process efficient, ...
How to export time sheets or activities record for each matter ?
After logging in to your MatterSuite system: 1. Open the Report section in your dashboard. 2. Go to the Time / Entry section. 3. Select date range or filters (optional). 4. Click on the Export button (usually top-right). Refer to the image below
How to generate a flat fee invoice?
1. Log in to MatterSuite and go to Billing tab. 2. Open Time Entries and click Add Entry. 3. In the pop-up, select the Flat Fee checkbox. 4. Enter the date, description, and flat fee amount. 5. Review the details and click Save. Refer to the image ...
Overview of MatterSuite Calendar
The MatterSuite Calendar is a smart and organized scheduling tool designed for law firms and legal teams. It helps users efficiently manage their meetings, hearings, deadlines, appointments, and events; all from one central place. The calendar ...